Showing posts with label Liberated Quiltmaking. Show all posts

Monday, October 3, 2016

Gwennie Inspired Medallion QAL - 5th and Final Round: Something Fishy

This is the final round of the Gwennie Inspired Medallion Quilt Along.  
First let me say just how much fun this has been!!  I am so glad I decided to jump in.. despite my resistance to joining any monthly groups this year, and that I was able to stick with it!!  
Wendy at the Constant Quilter (see her blog here) chose the final border: "Something Fishy".  
Really?? <blink...blink>
Don't get me wrong.. I love fish themes.  In fact a lot of my original designed quilts and patterns are underwater themed. 


Here is a sampling of some of my fish quilts.  My header of my blog is a underwater quilt I did for someone years ago.  So this theme is not foreign to me.  You'd think this would be perfect....
But I looked at my GIM quilt.. with its modern/vintage feel...and I just couldn't see "Something Fishy".  As with the other themes, we can interpret this as loosely as we wanted. :-)
Soon I had a plan....

Can you guess?
A spiky sawtooth border I am calling a Shark Tooth Border!  Of course!
These are fun to make, as with most things Liberated!  Just put one rectangle askew on top of another background rectangle (I decided to go with the gray and pink dot again) and stitch.
Press the print to one side, flip and trim around your background fabric.
 You can then go back and trim that extra background fabric to your seam allowance to reduce the bulk.
I made about 120 'teeth', all different heights and widths, which went pretty quickly.  Soon I had borders ready to pin to my quilt.
And the first border was being stitched in place.  Unlike a traditional pieced border, when you reached the end, you can just lop off the rest!  So liberating!
Here is my finished quilt.  It is almost too large for my design wall.  It measures 55" x 55".  I started out with no idea of what I wanted my final quilt to look like and I love how this turned out.  AND it has been so much FUN!!!  Thanks Lori for getting us started and sponsoring, and Katy, Cathy, Cynthia, and Wendy - for your themes each month!  I would have never had made a quilt like this on my own without the inspiration from Gwen Marston and this wonderful team of quilters.

Happy Stitching!
Deb

Check out all the other Gwen Inspired Medallion quilts at the linky party at Humble Quilts.  Thanks, again Lori!


Monday, August 15, 2016

Do You Clip?

What I mean is... do you clip your seam allowances on some blocks? 
I have been working on my liberated star blocks for my Gwennie Inspired Medallion QAL quilt.  I am loving the modern/vintage feel of these blocks.
These are always a lot of fun and ADDICTIVE!!  Can you tell??  It's half way through the month and I have 24 done already.... and I usually do not get to my sewing machine at night during the week. :-)
I picked up this technique from a Jo Morton book awhile ago.  She calls it the Clipping Trick.  You clip through both layers of the seam allowance up to the seam line on each side of the seam intersection.  This will allow you to press the seam in the direction it would like to go and reduces the layers.   The intersections get pressed open to reduce bulk.

You don't end up with that lump at the intersections and your block lays nice and flat.
 
I use this all the time, but particularly on star blocks.  Try it the next time if you don't do this already!
So in order to finish this next round, I need to decide what to put the corners.  I have tried a couple options, but no winner yet. (You know how this goes.. lots of trial and error)  However, I am determined this month for this design to not take on a life of its own! LOL
As always, I am open to your wonderful, creative suggestions!  For now I will take a look through my Liberated Quiltmaking book and see if there are any ideas in there.  I am sure there are!


Happy Stitching!


Deb

Friday, July 8, 2016

Late to the Party - Gwennie Medallion QAL!

I recently saw some wonderful posts about the Gwennie Medallion Quilt Along going on right now - which actually started in May.    This quilt along is a collaboration of 5 quilters who are setting the monthly themes for a medallion quilt inspired by Gwen Marston.  Cool, right? 
So while I have resisted some pretty tempting challenges and quilt alongs... this one I just had to jump into.  Maybe it was the idea of working in a Gwen Martson inspired environment...  think liberated quilting!  However, this meant that I had some catching up to do and I spent part of my holiday weekend playing in my sewing room.  Always fun!  Here is my initial fabric pull.  I tried not to overthink it.
The first month of the quilt along was chosen by Lori over at Humble Quilts blog - Baskets.  This block will be the center medallion.  Love basket blocks!  I was even inspired by Lori's block with a cheddar yellow background.
I based my basket block layout on a design by Lori Smith of From My Heart to Your Hands and the style of the flowers from Piece O Cake Designs.  Also pictured here is Liberated Quiltmaking II by Gwen Marston - the inspiration for the QAL!
I may have even taken some inspiration from the flower pots on my deck....
I had fun over the holiday weekend working on this block.  No time to waste when I have catching up to do!  But the long weekend gave me the time to be creative with this and have fun.  This is one of my favorite spots to stitch.
This is the progress I have made as of today.  Great fun and I can't wait to show you the finished block and move onto the June theme.  I'll catch up with the rest of you!


Happy Stitching!

Deb


Wednesday, October 7, 2015

Under My Needle Lately

I feel like I have really been so far out of the quilting and blogging loop lately.  
We have been focused on other things: planning, preparing, family visiting, etc. for my father-in-law's funeral.  It was a beautiful service where both of my in-laws were finally buried together. It was so nice to have our family together since we all live so far from each other, while sad circumstances brought us together, it was really hard to see them leave.  

In between, I have been doing some stitching....
I decided it was time to work on some bindings for quilts that are almost done!
This is the binding going on the Liberated Log Cabin quilt. The machine quilter did a great job.  I love all the colors in this one!  It was a lot of fun to make.. but even better to git 'er done!
Since I had cleared off my work table to square up the Stacks quilt. I thought it was a good opportunity to do some more trimming and bindings.
This is the Cake Stand or Lil' Baskets quilt.  Another great job by the machine quilter. This quilt measures 70" x 70".  It will look great on our family room couch this winter!
Finally, this quilt, called French Roses, was started in... ummm.. almost embarrassed to say... 2008.  Don't you think it's time to get this one done!!??  It was machine quilted about a year ago. The flower shapes are all raw edges.  It should add a nice dimension when it is washed and those edges fray a bit. 
A bias cut pink and green stripe for the binding will look great.  It definitely needs to be finished and on a bed. 

I definitely have plenty of binding to sew down now...  I wonder how long it takes to hand stitch down 848 inches of binding? :-)

Happy Stitching,

Deb

Wednesday, October 1, 2014

Liberated Flying Geese Update

First, I wanted to thank everyone that commented on my Liberated Life post about the different layout options for my little flying geese.
This was the option that had the most support and actually was my first choice, as well.  Love it!
 
If you are familiar with the children's book, If You Give a Mouse a Cookie, you understand the concept of something going further than originally anticipated.  My girlfriend Dawn and I use this reference frequently when talking about our quilting projects ... and how sometimes they take on a life of their own.
I also took the suggestion to make some more Liberated Geese blocks.......and started adding them to the original group.
In fact, I made an addition 23 blocks..... (a little obsessed??)  Which is more than in the original group! LOL
I really struggled with that one block at the top, far left.  8 blocks made just to find the one that worked.  (Obsessed?)
So here is the final piece............ I think <wink>
 
 
Happy Stitching!
 
Deb


Wednesday, September 24, 2014

My Liberated Life!

Well... at least my liberated QUILT life. LOL 
So... if I have had so much fun making the Liberated Star blocks... you had to know that it wouldn't be long before I branched out to other patterns. :-)
Here are my liberated geese.  Aren't they fun!  I decided to stick with a gray background for each of the triangle blocks.  I really wanted to showcase the bright fabrics. 
Option 1
I had so much fun in my studio on Sunday creating these - gleefully cutting into my contemporary fabrics and selecting backgrounds from my small stash of grays.  Then I hit a dilemma.  How should I put the rows together?  I thought I knew what I wanted.... but <gasp> when I stepped back from my design wall, I wasn't so convinced. 
Option 2
I thought... "maybe I should just try reversing the row in the middle....."  Hmmmm, still not convinced.
Option 3
Of course, I told myself, "you can always move the rows around to a different order....."  Hmmm.. more pondering.
My husband came downstairs and I recruited his opinion... with the various options. <more pondering.....>
 
So I am putting it out there to any of you that might have an opinion.  1, 2 or 3? I would appreciate any feedback you have... or maybe a whole new suggestion!  It's fun to experiment, so let me know what you think.  I don't even want to explore the border/no border option yet on this little quilt! LOL
 
Happy Stitching!
 
Deb
 

Sunday, September 7, 2014

Liberated Stars - Tutorial

I was on vacation this week.  Actually a staycation..  but none the less anytime at home, without the commute and headaches of work is definitely a VACATION.  So I did quite a bit of sewing (of course - duh!) and some entertaining and some general relaxing.  In fact, right now I am sitting on the deck with a bottle, I mean a glass - LOL, of wine.  My last hurrah before work and reality hits tomorrow.  It is a gorgeous late summer day here.
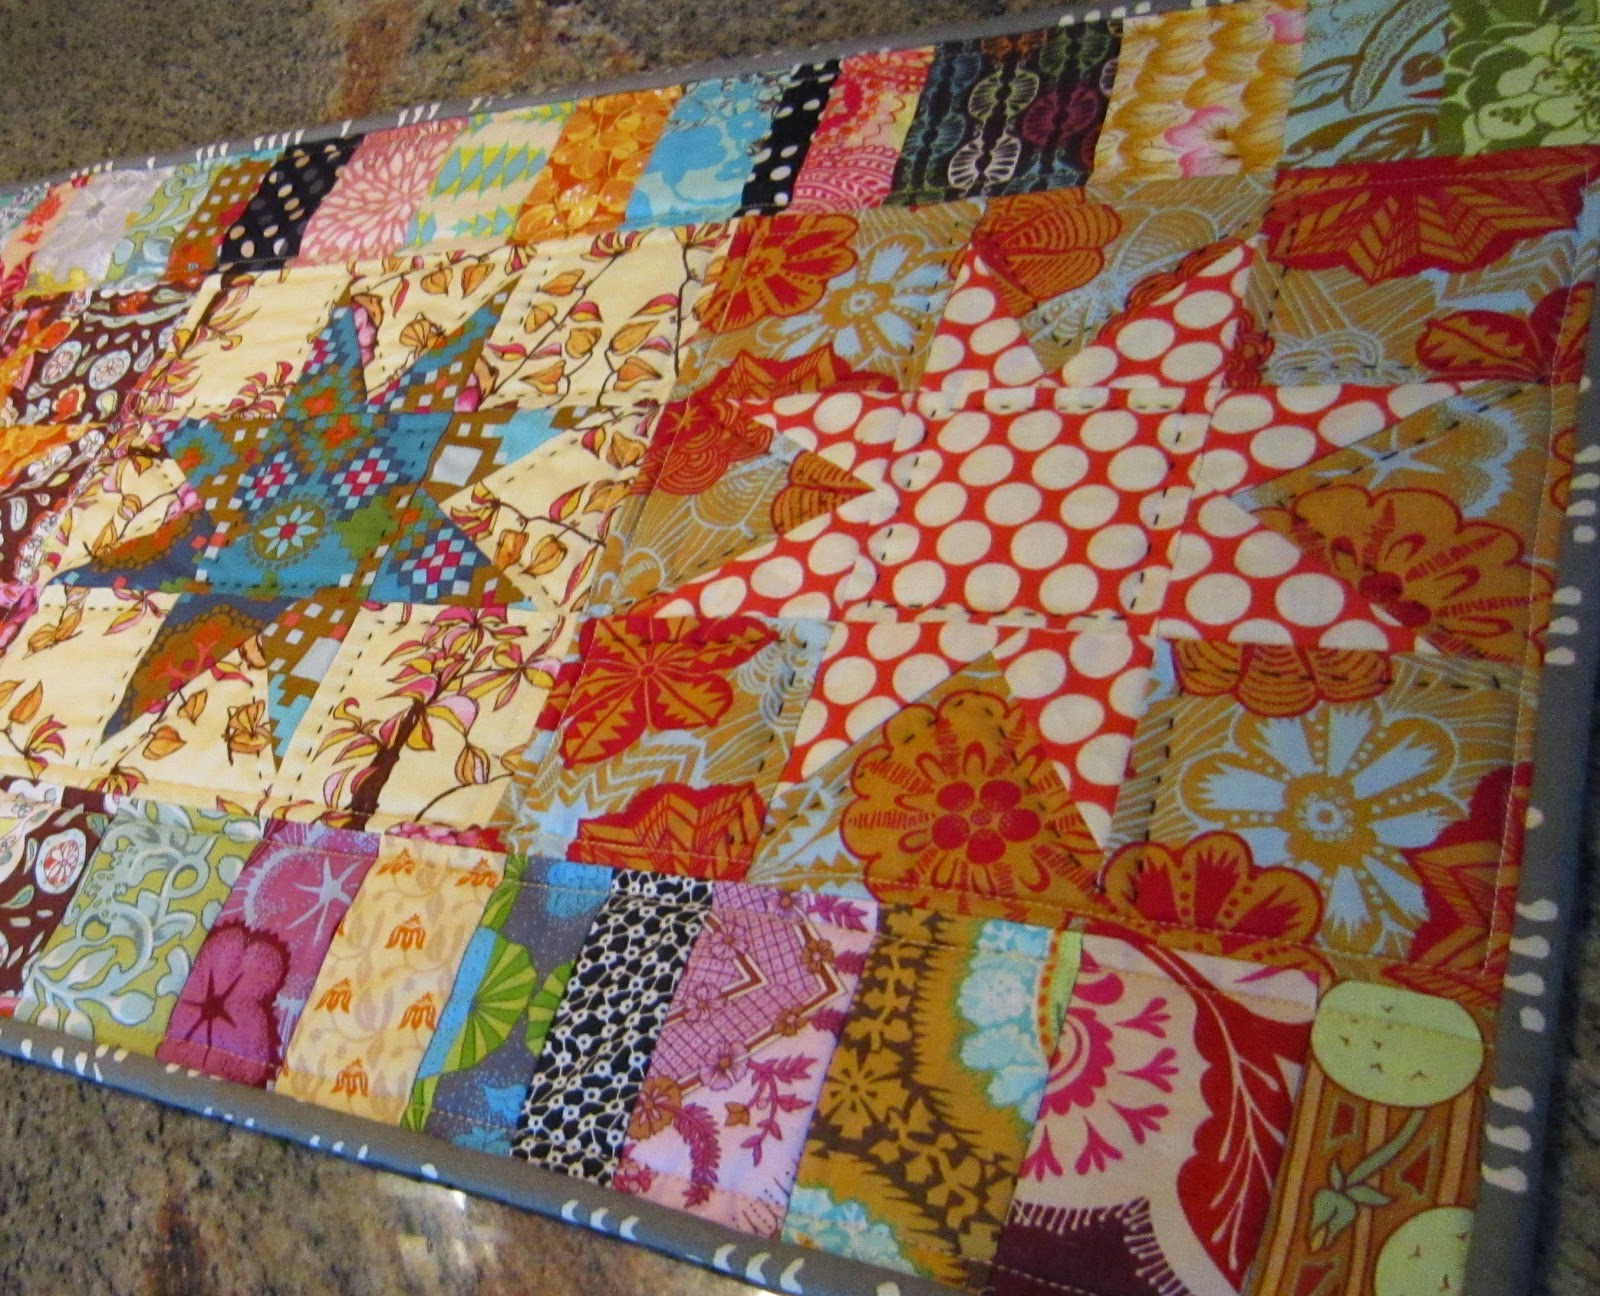
One of the projects I worked on and finished this week was a table runner from the Liberated Star blocks I have been making.  I grabbed 5 blocks, sewed them together and added a piano key type border to each of the long sides. 
 I machine quilted around each block and then big-stitch hand quilted in black cotton around each star and in the center.  I love the colors and motion that all these fabrics create when they come together.
 
A couple of people have asked about these blocks... so here we go - a quick (I hope) tutorial on how they are made.
My blocks are 9" finished.  So to start, I need to cut 8) 3 1/2" squares for my background (the blue fabric pictured here), and 4) 4" squares, cut in half to make 8 triangles (the red print fabric).  I also need  1) 3 1/2" square out of the red fabric for the star center.
Now, here is the fun and liberating part.   Put that triangle at an angle across one of the background fabric squares.  Sew with a 1/4" seam allowance from the edge of the triangle.
Trim away the excess fabric from the corner of the square.  Press the triangle toward the seam allowance.

Add the second triangle on the opposite side of the background square, again using a 1/4" seam allowance.  No matching seams, no right or wrong angle or placement.  Liberating!   I usually string piece these and do the blocks "assembly line style".
Star production line!  It goes really fast.
 

Again, trim and press.
Now I need to trim my blocks down to 3 1/2" square.
With the blocks trimmed, I can now start sewing them into rows with the other 3 1/2" square blocks that I originally cut.
The rows go together easily using a 1/4" seam allowance.  Next, I sew the rows together!
My Liberated Star block is complete!  See how the points of the star vary.
Before I know it, my star block is joined by the other star blocks I was working on!  It's a small constellation! LOL  Can you imagine how fun these would be in pastels or brights for a baby?
You can vary the size - as you can see with the 6" stars I did just for fun!
These were done with 2 1/2" background squares and 3" squares cut diagonally into triangles.
 
They are addictive!!  Right now I am up to 48 blocks!!  I think I need a quilters intervention!
 
Happy Stitching!
 
Deb

LinkWithin

Related Posts Plugin for WordPress, Blogger...