Showing posts with label Gracie. Show all posts

Sunday, November 29, 2015

Another Finish... and On a Roll!

I recently finished the binding on my French Roses quilt. Love this quilt and I'm not sure why it has taken me so long to finally get this one done.  After all, it was started in early 2008!


Here it is laying across the guest room bed.  You can see some of the wonderful machine quilting the longarm quilter did.


I felt a quilt this bold needed a bold back, so I chose these beautiful roses.. of course.  The striped bias cut binding was the perfect finishing touch.


I like my quilt labels to match the front of my quilt and typically will make a smaller block for this purpose.  Do you label your quilts?  If you don't, you definitely should!


It is currently folded at the foot of the bed.  Once it is washed the raw edges of all those roses will fray a bit and will add even more texture to this quilt.  Makes you want to curl up for nap, no?  But no rest for the weary. I was off from work this week and I was on a roll to get UFOs ready for the longarm quilter....
What is this?  
This is 7 1/2 yards of backing fabric for my baskets quilt.  I bought this fabric probably 3 years ago to use on the back of this quilt.  It was time to get it pieced together. 
So important to measure twice and cut once!!!
Anyone who has hung wallpaper understands the important of matching the repeat of a pattern.  So was the case with this large print fabric.  You can see my seam here. 
Once the back was pieced it was time to trim it to the correct width. It is folded in half for measuring and trimming. 
This back will go on this baskets quilt.  Sorry it's hard to get a full picture on the floor of my sewing studio.

I added a pieced inner border, which I have never done before.  These basket blocks were in my first blog post in 2012.  I didn't make the 291 originally planned for.. but I did make enough to make a nice sized quilt. :-)  The label for this quilt will be a basket block not used in the quilt.  More on that later...
Okay - now I was really going!!  I pulled out these applique blocks that have been sitting a long time. Tucked away in a cabinet, waiting to finally become a quilt.  These blocks gave me lots of practice with needle turn appliqued leaves!  320 leaves worth of practice!  I can see my progress in the various blocks.
I kept the blocks with the magazine that the pattern came from and all the material to finish the quilt.  I may be a procrastinator, but I am organized! LOL  This magazine is dated April 2007.  Way too long to be sitting in a cabinet. My guess is that it probably took me a year or two to finish the 20 blocks.
It was time to square up these blocks and get them sewn into a quilt.
I had forgotten the technique I used to make the stems.  Hmmm... machine stitch one side of the stem to the background (WST), then flip it over and turn under the edge and hand stitch.  I'll have to remember that!
I decided I would forego the pieced blocks used for the alternate blocks in the original pattern.  It was time to get this one DONE!  And I knew all that piecing was probably never going to happen anyway.  Sometimes you just have to face reality! LOL
  I found a beautiful soft yellow print called Simplicity by 3 Sisters in my stash.  Perfect!
Another quilt pieced - I just needed to add the borders!  I used the same fabric in the alternating squares for the border.  Sorry.. no pic!
I still  have plenty of UFOs to work on... more than I want to count.  But I am on a roll to get them finished and quilted... then we can talk about all that binding! LOL

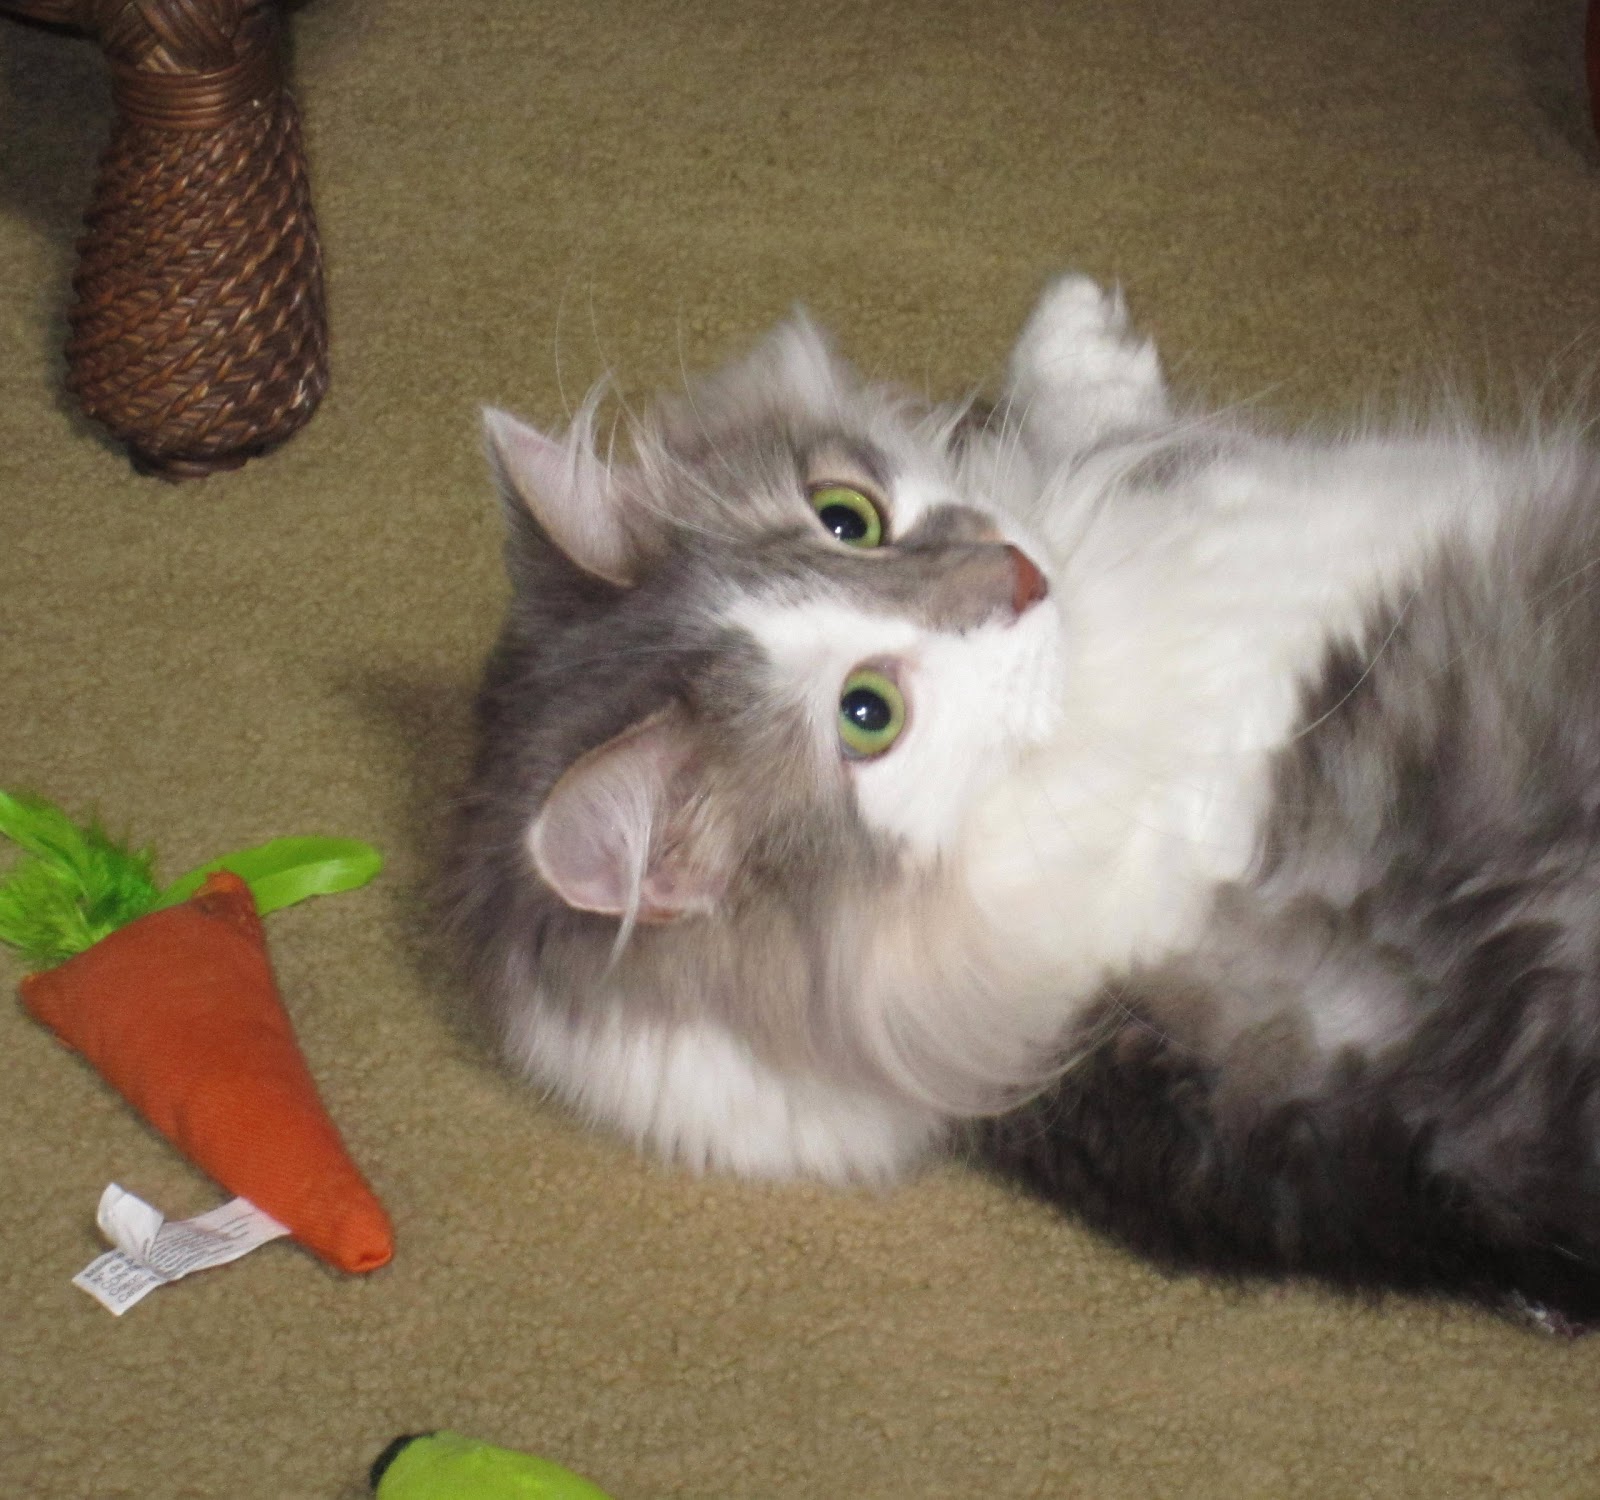
Gracie just naps and waits for the next quilt to sleep on!

Happy Stitching!

Deb

Friday, May 9, 2014

Liberated Log Cabin Update

I  have not been blogging much lately.. just way too busy at work.  Work just gets in the way of  quilting - way too much! LOL.  But I have made some progress on my Liberated Log Cabin quilt that I wanted to share!

So I started out by laying out the rows to get the best balance of color, pattern, etc. I was trying not to 'overthink' this... Lucy helped to distract me. :-)
She helped ALOT.....
We finally decided on a layout that she was happy with...
Here is the completed top on the guest room bed.  (note the little ears at the top of the bed.... that's Gracie!)  I have been trying to decide if I need to add a border.  Border? No Border? Border? YES!  I think I am going to add a scrappy border of some of the same fabrics in the top.
Gracie finally got bored with my decision process and just went back to sleep!
 
Now, wait until you see what I did with all those scraps I trimmed off those blocks.....
 
Next time!
 
Happy Stitching,
 
Deb

Monday, September 2, 2013

Gone Fishin' .....

You may remember the post back in June (can it be that long ago??) that I started a new fish design that will become my next pattern.  Well, since I hadn't worked on it for awhile, I thought I would spend some design time in my studio this weekend.
WARNING: There are quite a few pictures here! :-)
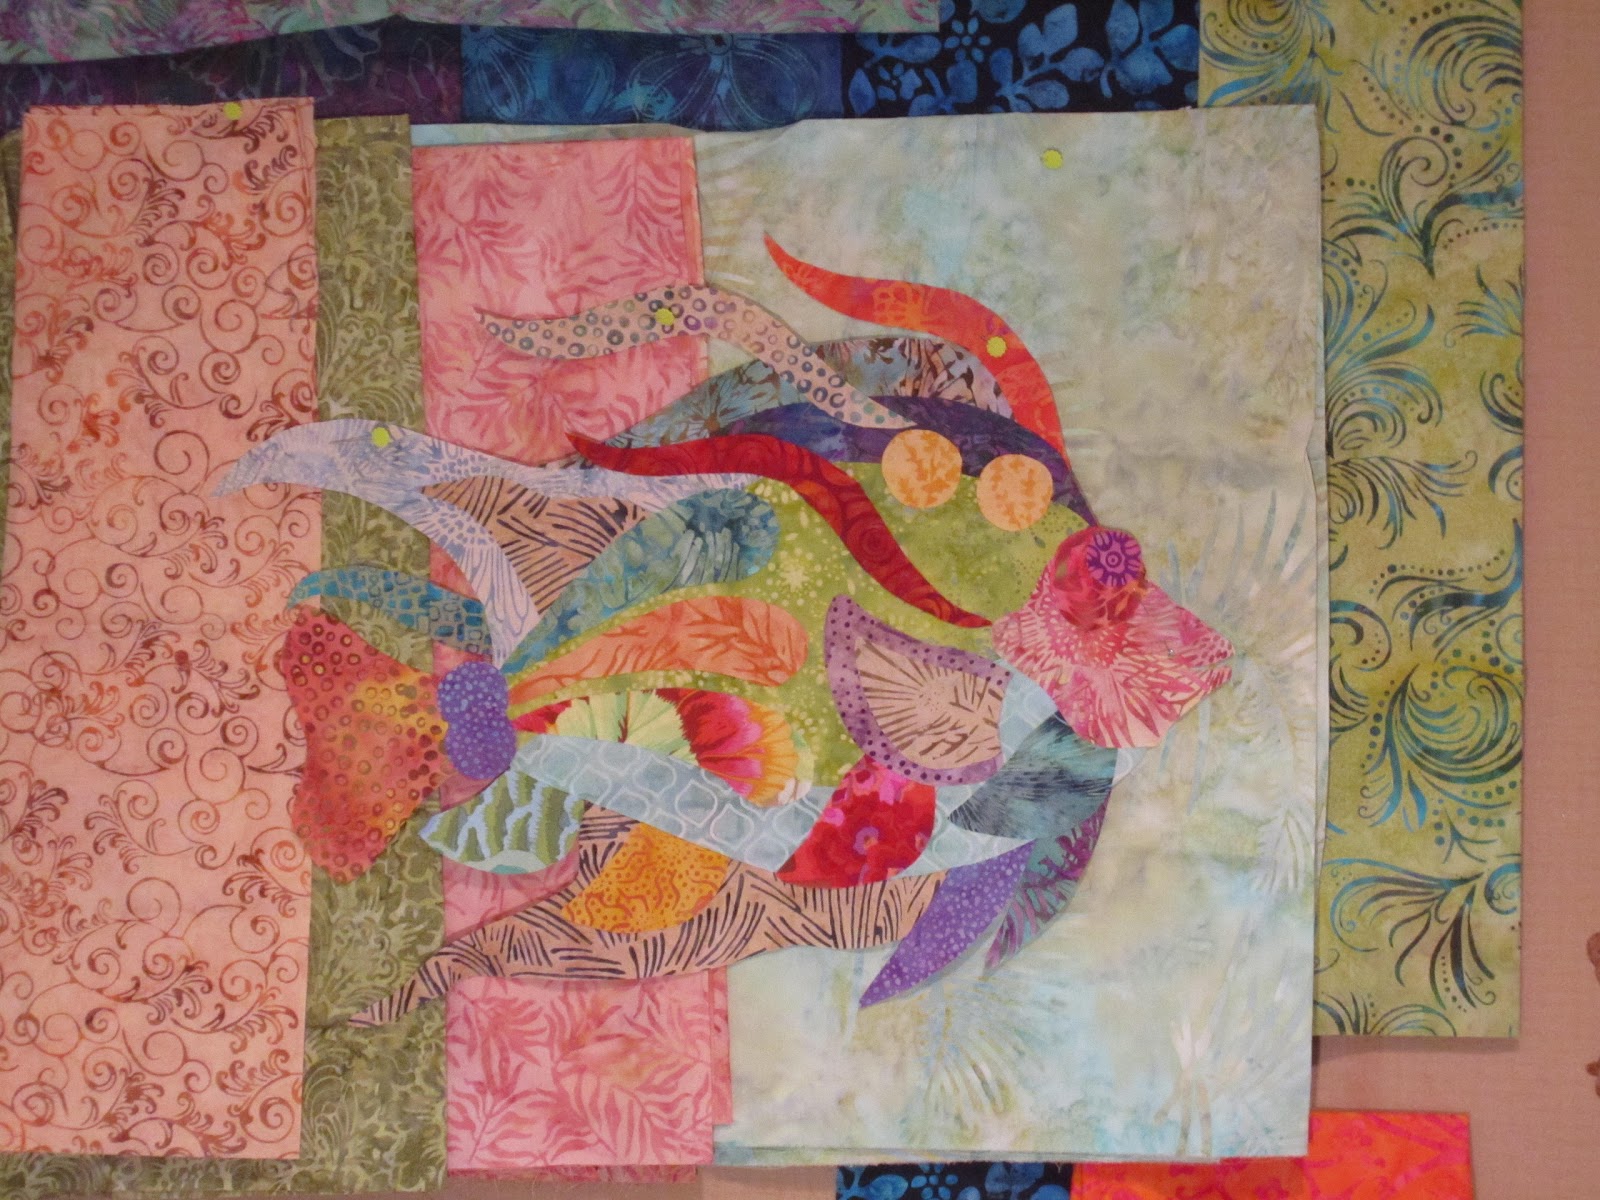
 So once my fish design is glued together.. and I'll get to that in a minute, it can be picked up off the table and moved around to audition it on different backgrounds.  Looks like a good catch, right?
At this point however, the fish is sitting on a piece of muslin as a background which works as a design surface for laying out the different shapes.  Now it's time to start gluing the design together.


I use Roxanne's Basting Glue.  The long thin needle- like applicator is perfect for applying glue just under the edge of all the pieces.  


Just a small bead of glue is enough to hold the pieces together.  I go around the edge of every piece.  Gluing is done to the entire design, except along the outer edge. 


Once the design is totally glued together, it can either be gently lifted from the muslin or cut away just under the edge.  This design was held together enough that I was able to just pull it off the muslin, as seen in the first photo at the top of this post.  As you can see here, I have started the design process of selecting a background.
This can be a really fun part... or a really frustrating part - Depending on how it goes! 
So we start on a solid dark background.. not bad.
Moving to the design wall, we try a light and dark background.  Maybe something pieced would be best.. but what colors?
Next I try different blue batiks.. with that piece of pink still in there.  Not sure I like that either.....
What about a light pieced background?  Does that work?  I like the bright colors against the light background, but not enough contrast I'm afraid.  
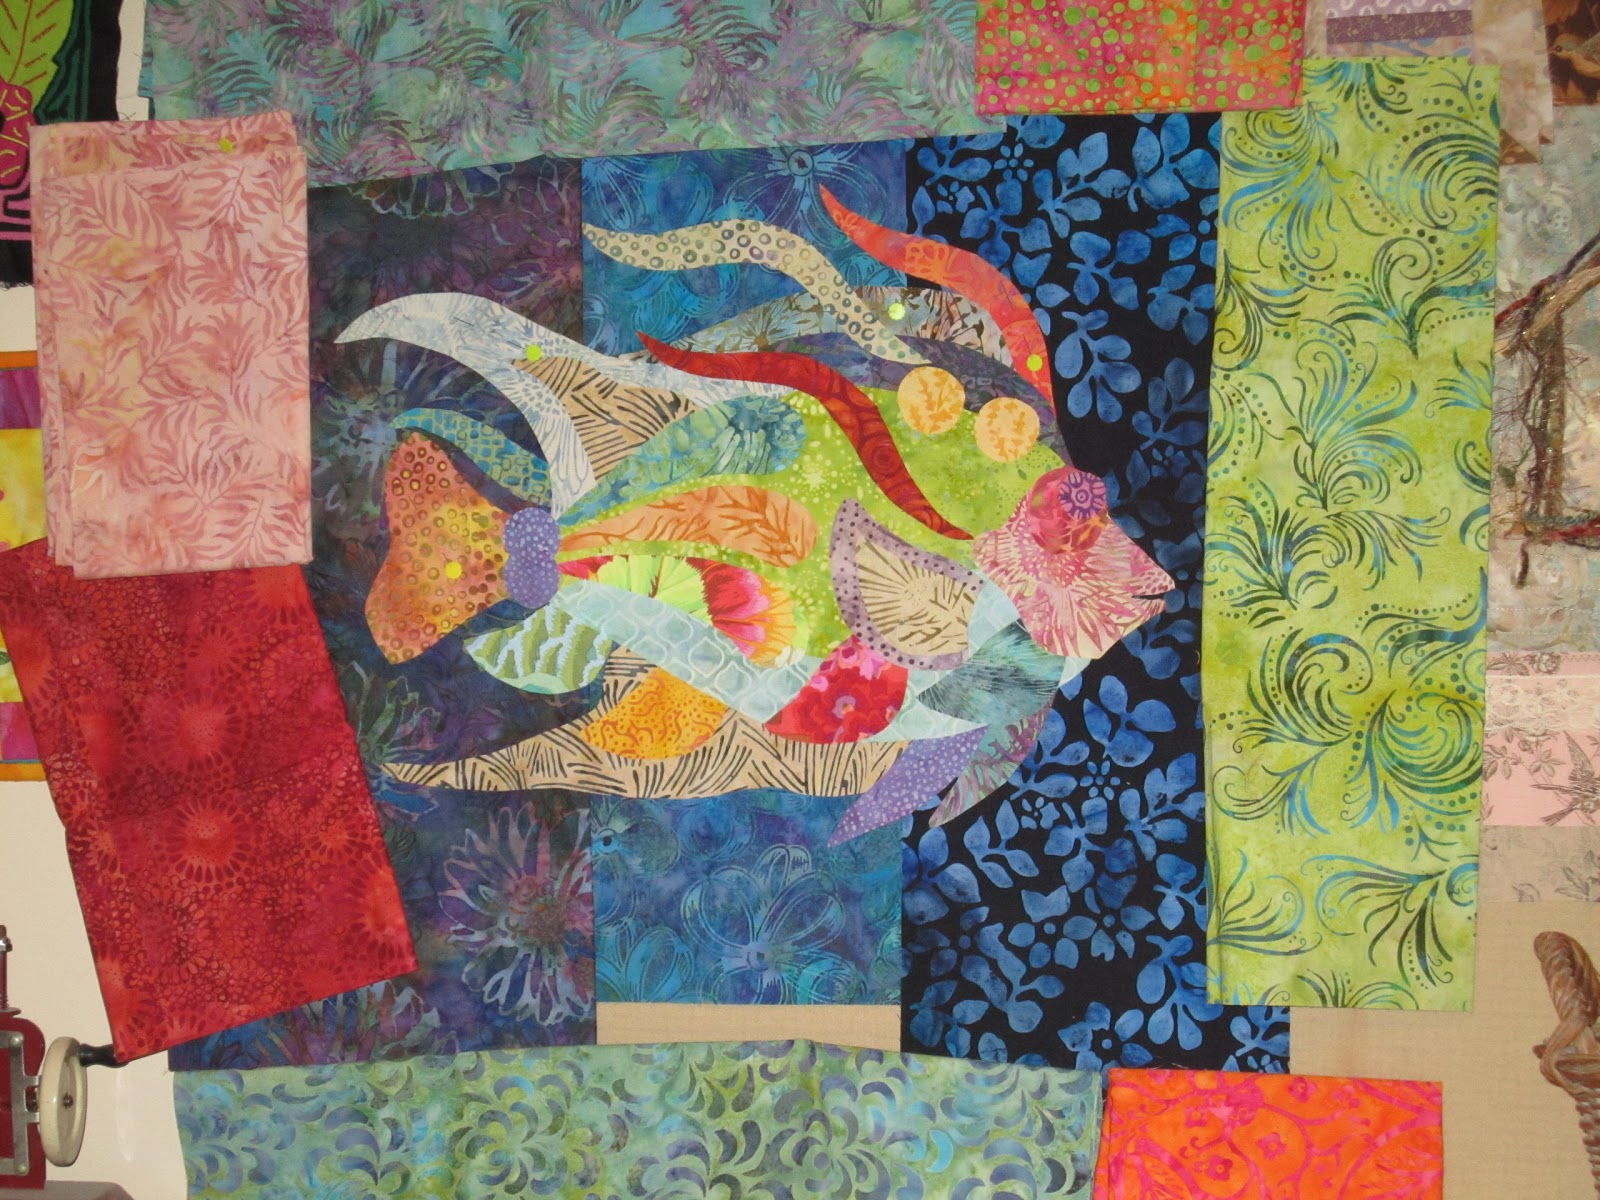
I continue to audition dark fabrics for the background, surrounded by some pieces for the border. Hmmmm.
This isn't too bad.  I think I am starting to make some progress....
This is better.  I think all those colors around the border were too distracting.  But I don't like the white inner border.  What was I thinking?  Sand? LOL  That will have to be changed.
Once the background is pieced, it is time to glue the fish down to the background.  I pin it in several spots just to keep it from shifting.


Again with the basting glue, I go around the entire outside edge this time gluing it to the background.


Here is the final design.... well about 95% done.  And what about all those raw edges, you ask?  They will be stitched down during the machine quilting process..  another day.
 Whether you are relaxing today or playing with toys.... I wish you a very happy Labor Day - Enjoy!


Happy Stitching,

Deb

Sunday, July 14, 2013

You Could Put an Eye Out......

We've all probably heard this from our mothers at some point... or heard it said in the movie "The Christmas Story".... well  it's true.  
I love these little scissors.. they are always on my table at the end of the couch. They are my "go to" scissors for applique... small, sharp and very 'pointy"  I won't tell you how it happened... because it was pretty dumb.. but I managed to poke myself in the eye with my little scissors... OUCH!  I just need to learn to slow down and watch what I am doing and what I have in my hands.  
This is the end result.. which is kinda gross, but luckily it seems to be just an abrasion and I didn't do more damage.  Geezzzzz!  A Quilting Occupational Hazard!  Please be careful!
So I was working on beaks and talons today for the Golden Eagles block.  They are really detailed and take a lot of time and patience.  Sitting on the deck was a real challenge too.. it is soooo hot here.

One down... three to go.


"What do you think?  Does it look like more rain?  
"I heard it's going to get hot - best to stay inside on the bed!"

Happy Stitching and Stay Cool!

Deb

Wednesday, June 26, 2013

Sweet Hearts - Update and Nearing a Milestone!

I wanted to post an update on the Sweet Hearts project.  I have been working on my hearts over the past several weeks and I have completed quite a pile that now will be added to the top.  They are perfect to work on in the car (but only as a passenger! LOL)
 I love seeing stacks of finished blocks!
Here are all the latest Sweet Hearts ready to go into the quilt top. 
Block inspection....

These little kitties were sent in as understudies to lazy Gracie napping in the background. 

My girlfriend Marie finally decided to jump into the Sweet Hearts project.  Since she joined late she has had quite a bit of catching up to do!!!  She is now in day 25 with 100+ hearts done! Go Marie!!!
Here is the start of her quilt.  Love the black & white triangles!
So now that we are nearing the milestone of the half way point in this project, the basket of heart blocks is half empty.
My heart block for the first day of summer.

Happy Stitching!

Deb

LinkWithin

Related Posts Plugin for WordPress, Blogger...