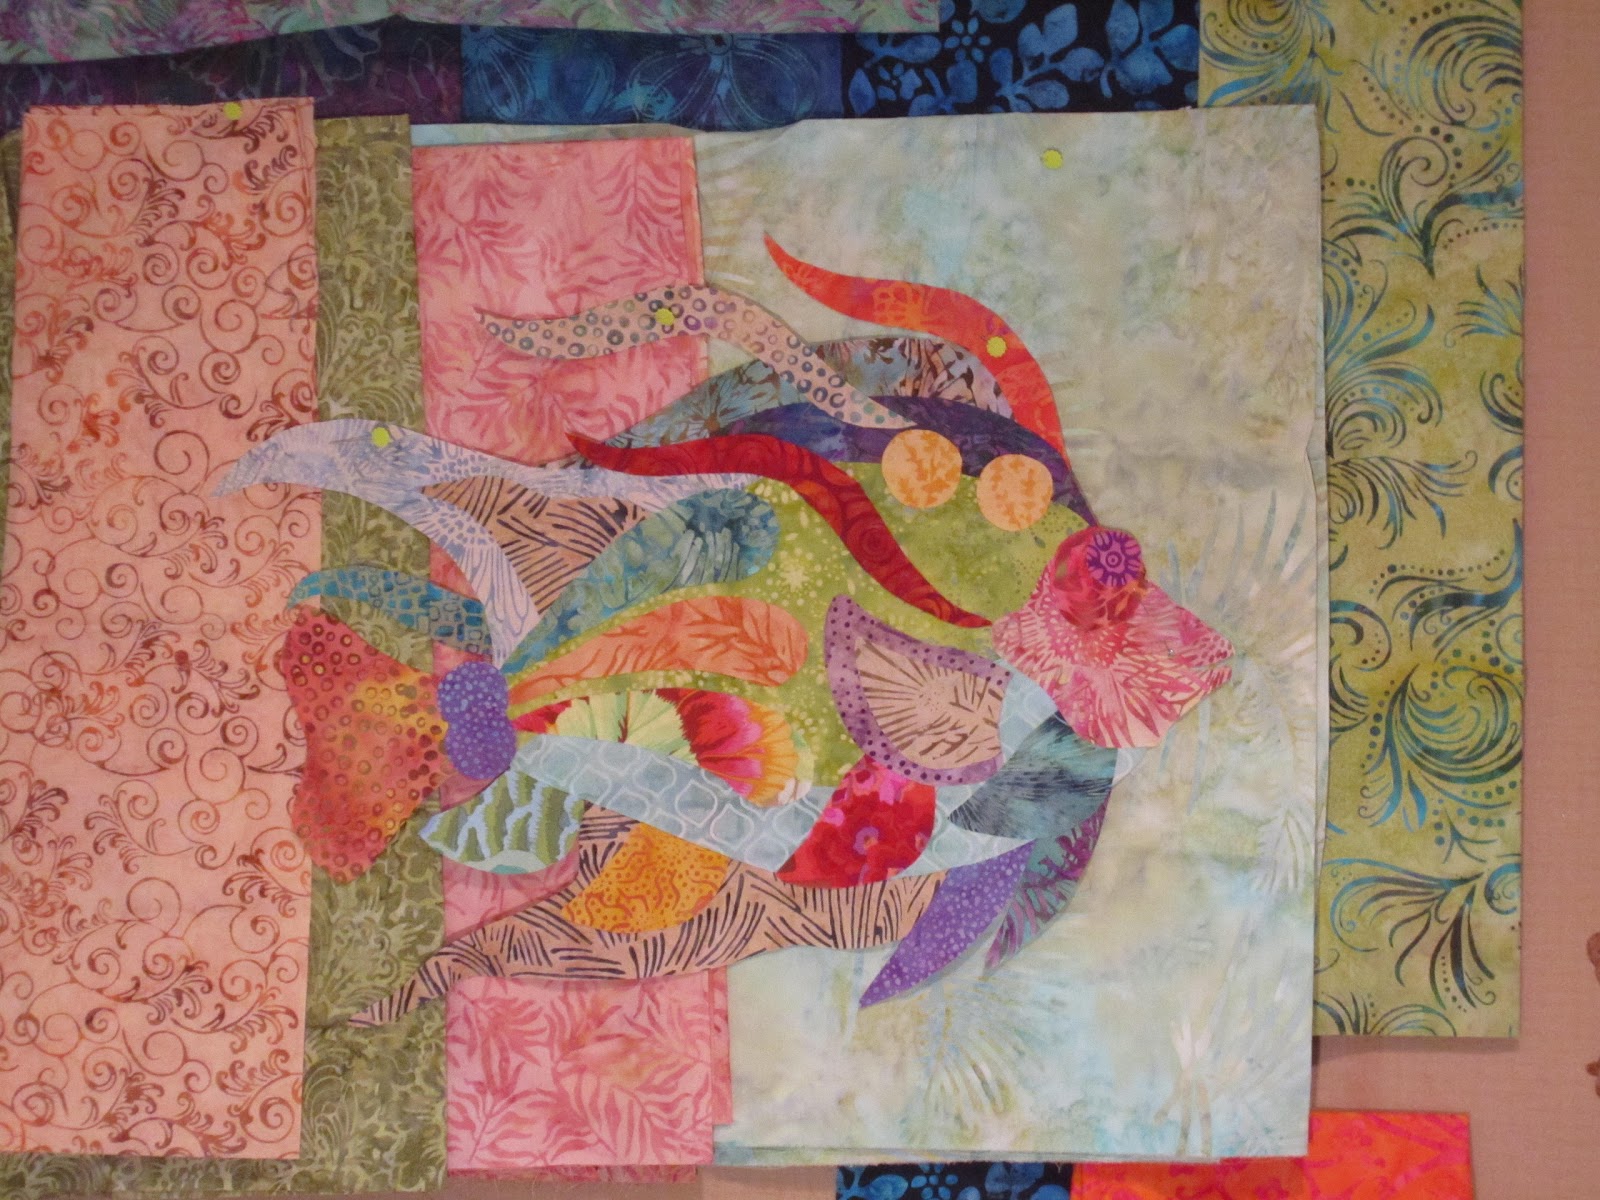
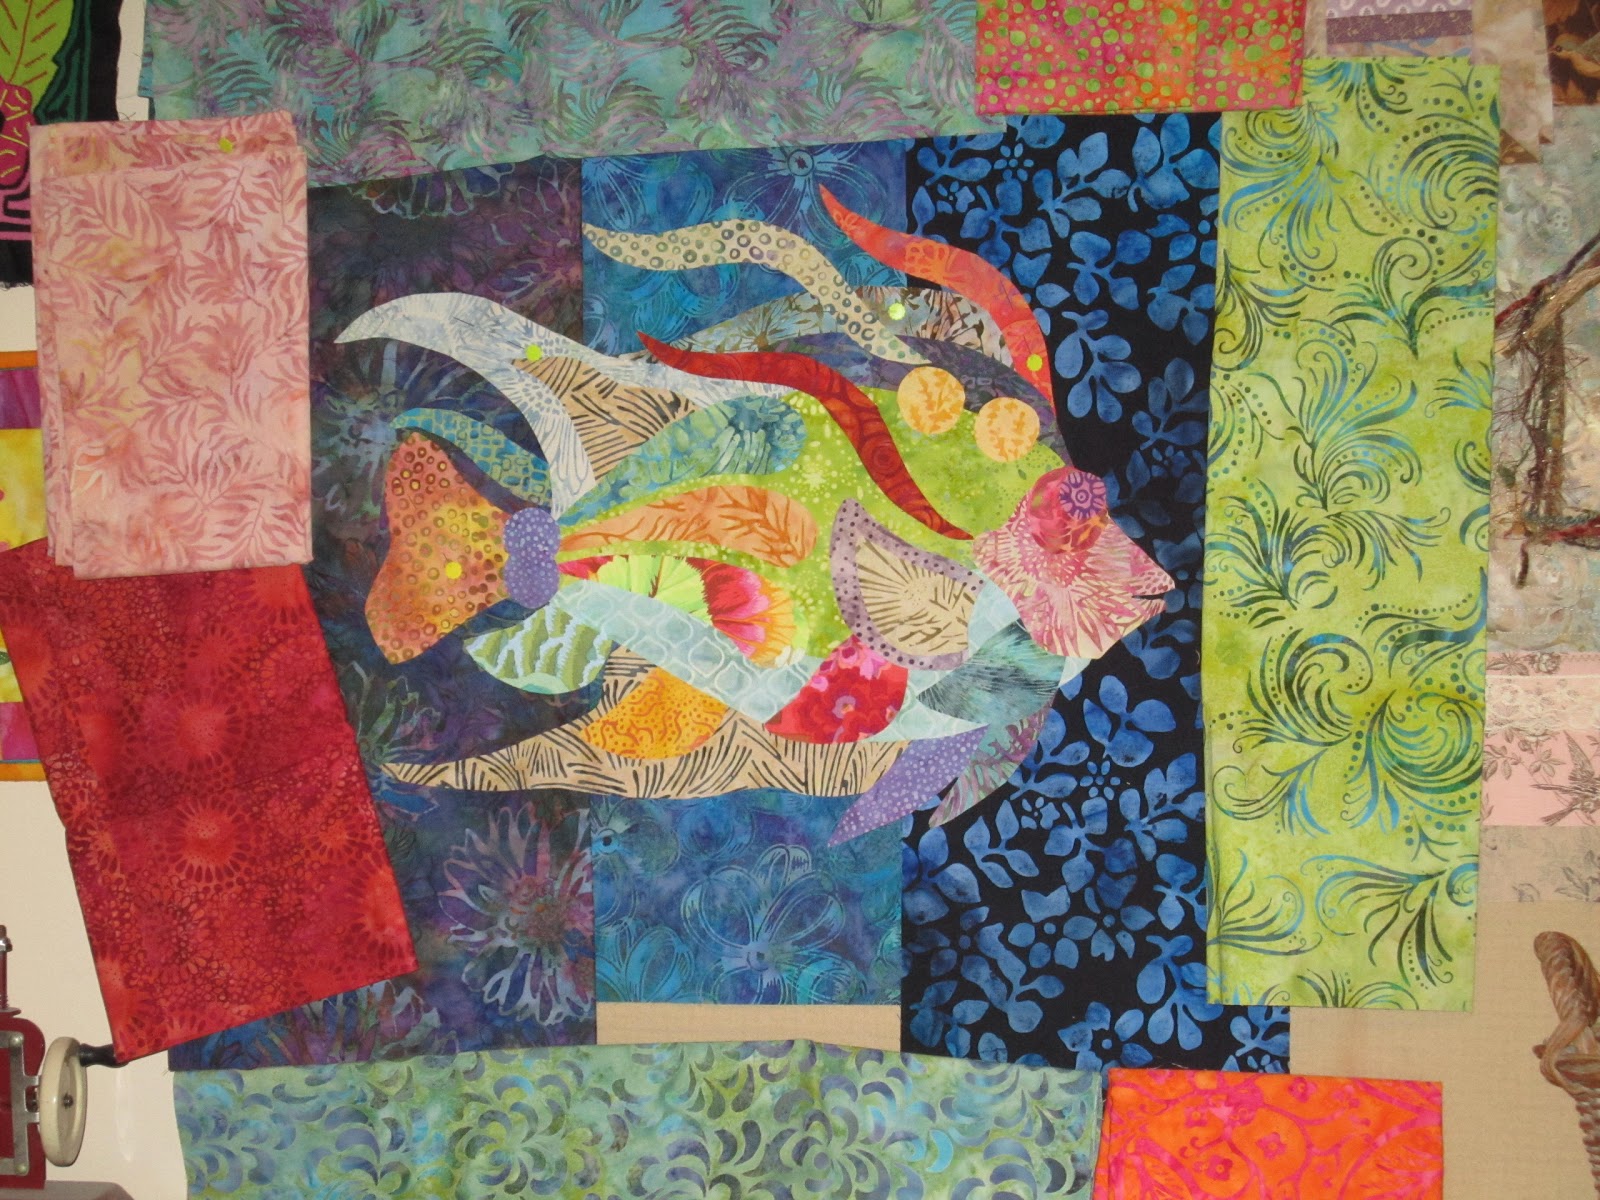
You may remember the post back in June (can it be that long ago??) that I started a new fish design that will become my next pattern. Well, since I hadn't worked on it for awhile, I thought I would spend some design time in my studio this weekend.
WARNING: There are quite a few pictures here! :-)
So once my fish design is glued together.. and I'll get to that in a minute, it can be picked up off the table and moved around to audition it on different backgrounds. Looks like a good catch, right?
At this point however, the fish is sitting on a piece of muslin as a background which works as a design surface for laying out the different shapes. Now it's time to start gluing the design together.
I use Roxanne's Basting Glue. The long thin needle- like applicator is perfect for applying glue just under the edge of all the pieces.

Just a small bead of glue is enough to hold the pieces together. I go around the edge of every piece. Gluing is done to the entire design, except along the outer edge.
Once the design is totally glued together, it can either be gently lifted from the muslin or cut away just under the edge. This design was held together enough that I was able to just pull it off the muslin, as seen in the first photo at the top of this post. As you can see here, I have started the design process of selecting a background.
This can be a really fun part... or a really frustrating part - Depending on how it goes!
So we start on a solid dark background.. not bad.
Moving to the design wall, we try a light and dark background. Maybe something pieced would be best.. but what colors?
Next I try different blue batiks.. with that piece of pink still in there. Not sure I like that either.....
What about a light pieced background? Does that work? I like the bright colors against the light background, but not enough contrast I'm afraid.
I continue to audition dark fabrics for the background, surrounded by some pieces for the border. Hmmmm.
This isn't too bad. I think I am starting to make some progress....
This is better. I think all those colors around the border were too distracting. But I don't like the white inner border. What was I thinking? Sand? LOL That will have to be changed.
Once the background is pieced, it is time to glue the fish down to the background. I pin it in several spots just to keep it from shifting.
Again with the basting glue, I go around the entire outside edge this time gluing it to the background.
Here is the final design.... well about 95% done. And what about all those raw edges, you ask? They will be stitched down during the machine quilting process.. another day.
Whether you are relaxing today or playing with toys.... I wish you a very happy Labor Day - Enjoy!
Happy Stitching,
Deb