Showing posts with label Liberated Stars. Show all posts

Thursday, September 1, 2016

Gwennie Inspired Medallion QAL - Round 4: Stars

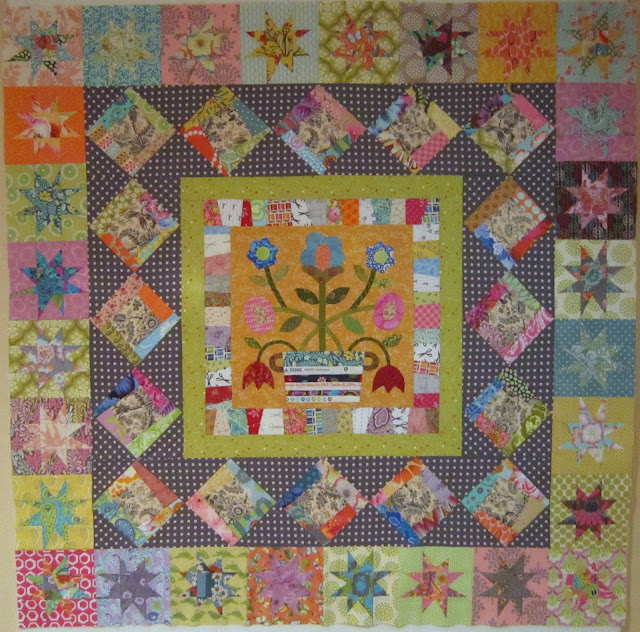
I am really enjoying this Gwennie Inspired Medallion Quilt along! 
Katy at KatyQuilts selected a star theme for the August round of this quilt along.  I happen to love making liberated stars so I was very happy to design, cut and sew 28 6" star blocks for my next border. You can see this process in my blog post here.  And there is also a short tutorial in there about clipping your intersections.
Here is my GIM quilt so far.  I love the sparkle that the stars add to this border.  Some are very defined and others are more low contrast. I think it makes it more interesting.
I tried to use similar fabrics as I used in the log cabin border to keep it cohesive.  Still loving the polka dot setting triangles. Gives your eye a place to rest in the wonky quilt! :-)
I did something slightly different in the four corner blocks.
I added a wonky four-patch in the center.
And made the star points out of two different fabrics.
This one is really low contrast, the star almost disappears.
Now my quilt is waiting for the next round in this quilt along.

I am linking up at the quilt along over at Humble Quilts.  Check out all the wonderful Gwennie Inspired Medallion quilts. I am sure you will be inspired!

Happy Stitching!

Deb


Monday, August 15, 2016

Do You Clip?

What I mean is... do you clip your seam allowances on some blocks? 
I have been working on my liberated star blocks for my Gwennie Inspired Medallion QAL quilt.  I am loving the modern/vintage feel of these blocks.
These are always a lot of fun and ADDICTIVE!!  Can you tell??  It's half way through the month and I have 24 done already.... and I usually do not get to my sewing machine at night during the week. :-)
I picked up this technique from a Jo Morton book awhile ago.  She calls it the Clipping Trick.  You clip through both layers of the seam allowance up to the seam line on each side of the seam intersection.  This will allow you to press the seam in the direction it would like to go and reduces the layers.   The intersections get pressed open to reduce bulk.

You don't end up with that lump at the intersections and your block lays nice and flat.
 
I use this all the time, but particularly on star blocks.  Try it the next time if you don't do this already!
So in order to finish this next round, I need to decide what to put the corners.  I have tried a couple options, but no winner yet. (You know how this goes.. lots of trial and error)  However, I am determined this month for this design to not take on a life of its own! LOL
As always, I am open to your wonderful, creative suggestions!  For now I will take a look through my Liberated Quiltmaking book and see if there are any ideas in there.  I am sure there are!


Happy Stitching!


Deb
Saturday, March 28, 2015

Rainbow Scrap Challenge - Last Chance at Yellow

This week is the last week for yellow over at the Rainbow Scrap Challenge hosted by Angela at So Scrappy.
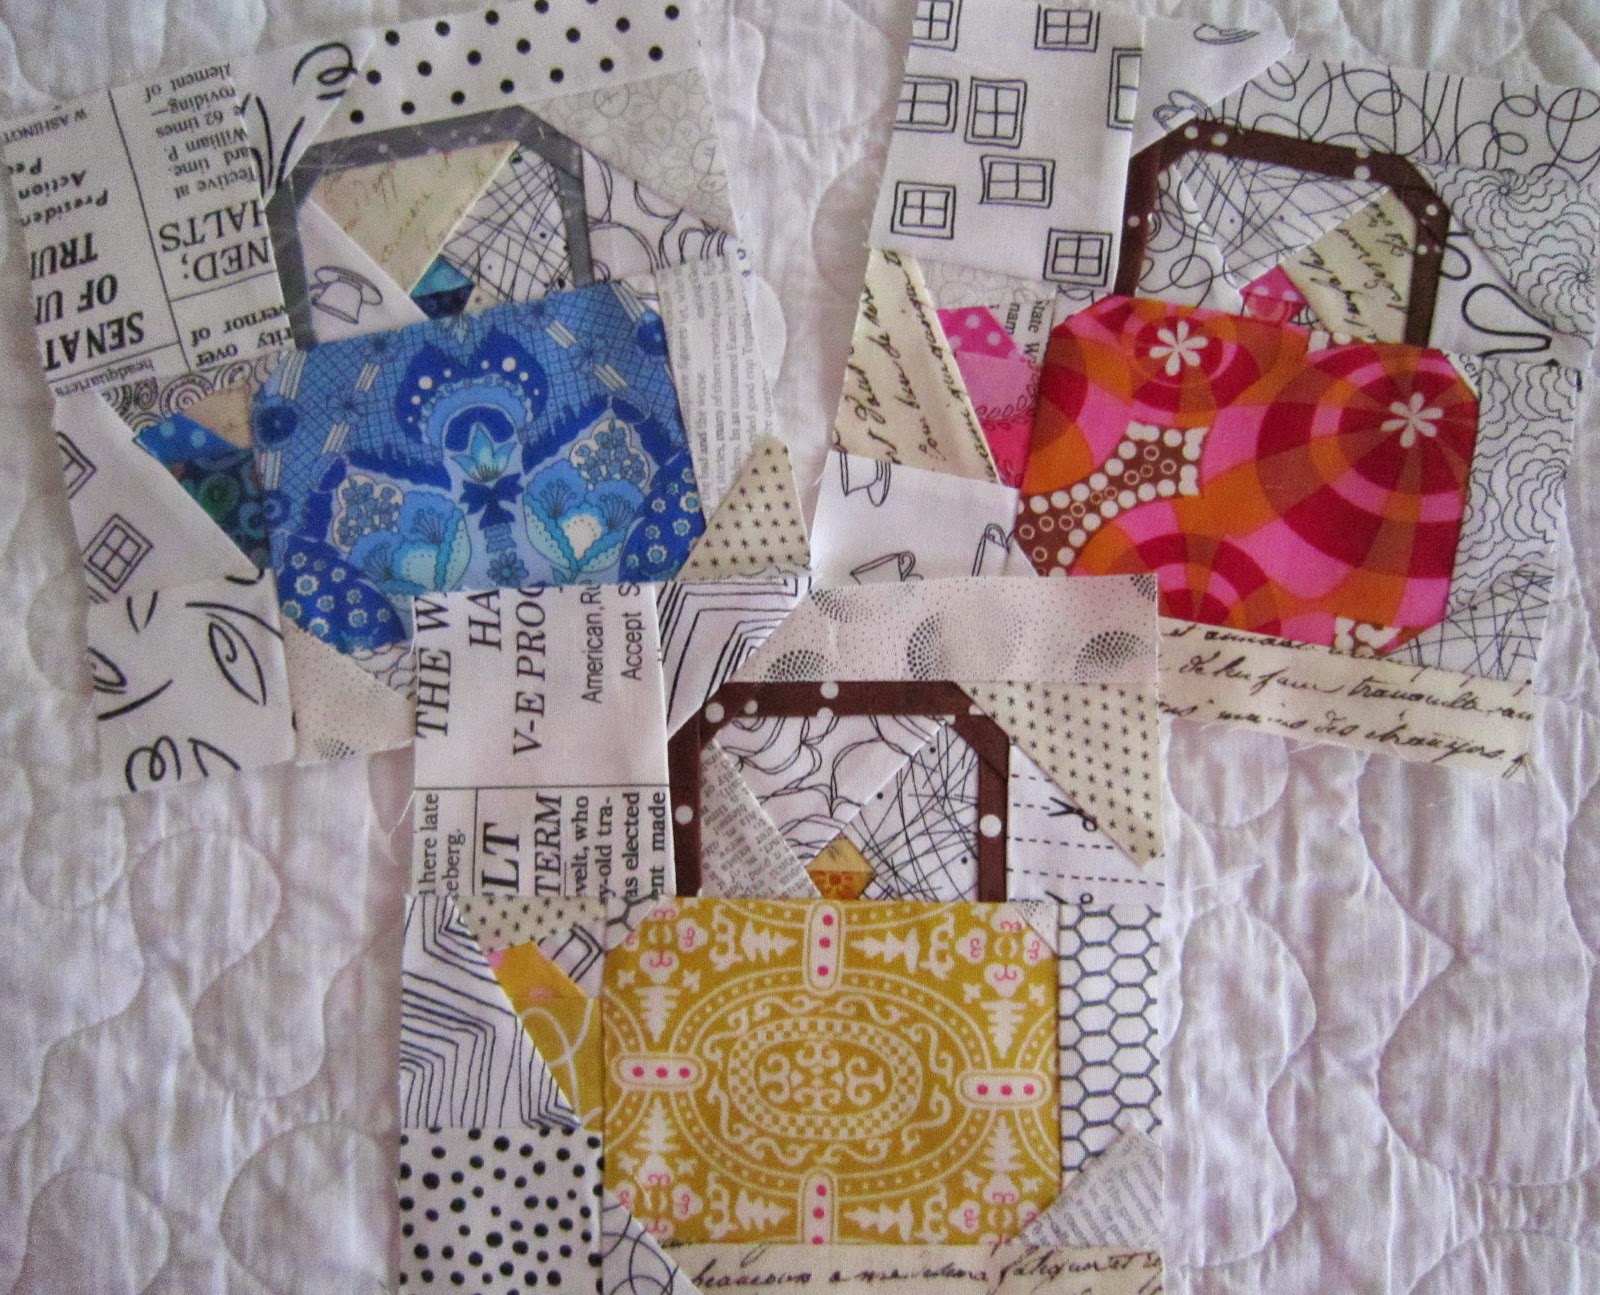
I am having fun with these little teapot blocks.  They are paper pieced and I have not done that for awhile, so it is fun 're-training" my brain.  If you have done paper piecing,  you know what I mean!
I also finished my two wonky liberated stars in yellow - not paper pieced.  These little babies measure 6".. not too little. :-)
I also took a picture of the three teapots since I don't think I posted a photo of the blue block.

Off to do some more sewing....!

Happy Stitching,

Deb

Linking up at So Scrappy for the get together with other yellow projects!  It's never too late to join!

Saturday, February 21, 2015

My Own Worst Enemy ... But I Can't Help Myself!

So I was so ahead of myself (who me?) that I got my Rainbow Scrap Challenge (RSC) pink hexies for February done in one sitting, before the month even started! You can see them here. So what was I supposed to do the rest of the month while I gazed upon all the wonderful pink blocks at the RSC at So Scrappy week after week??   I can only resist for so long.. so of course I came up with some ideas (surprise.. surprise). 
This is why I should stay off of the computer (Blogging, Pinterest, etc.) for awhile.
Some small 6" liberated stars would be very cute.  I remembered making a few when I was working on the liberated star blocks back in September.  These are smaller than those 10" blocks....but that is what makes them so adorable!
So of course I had to make the blue blocks for January to catch up. :-)
And then somewhere in my overloaded brain I thought about a paper pieced block.  Hmmm... maybe a paper pieced teapot block... which would become a teapot wallhanging.  A teapot in a different color for each month of the challenge. (what was I thinking??)
I found this one on eQuiltPatterns.com. Needless to say I was off and running and definitely in need of an intervention. 
Now, I am not responsible for this. :-)  But I wanted to share since they fit so well with the RSC color this month. (pink.. if you haven't guessed)
My co-worker, Maya, has been making these adorable crocheted, catnip infused, cat toys.  How cute are they???  
They are cat tested and cat approved.  Here is her cat, Ghillie, with his little fish cat toy.
I can attest that they are very popular at my house! >.<


Stop by So Scrappy to see some very creative pink projects underway.  It is a bit of Spring during this artic blast some of us are living with.


Happy Stitching!


Deb

Sunday, September 7, 2014

Liberated Stars - Tutorial

I was on vacation this week.  Actually a staycation..  but none the less anytime at home, without the commute and headaches of work is definitely a VACATION.  So I did quite a bit of sewing (of course - duh!) and some entertaining and some general relaxing.  In fact, right now I am sitting on the deck with a bottle, I mean a glass - LOL, of wine.  My last hurrah before work and reality hits tomorrow.  It is a gorgeous late summer day here.
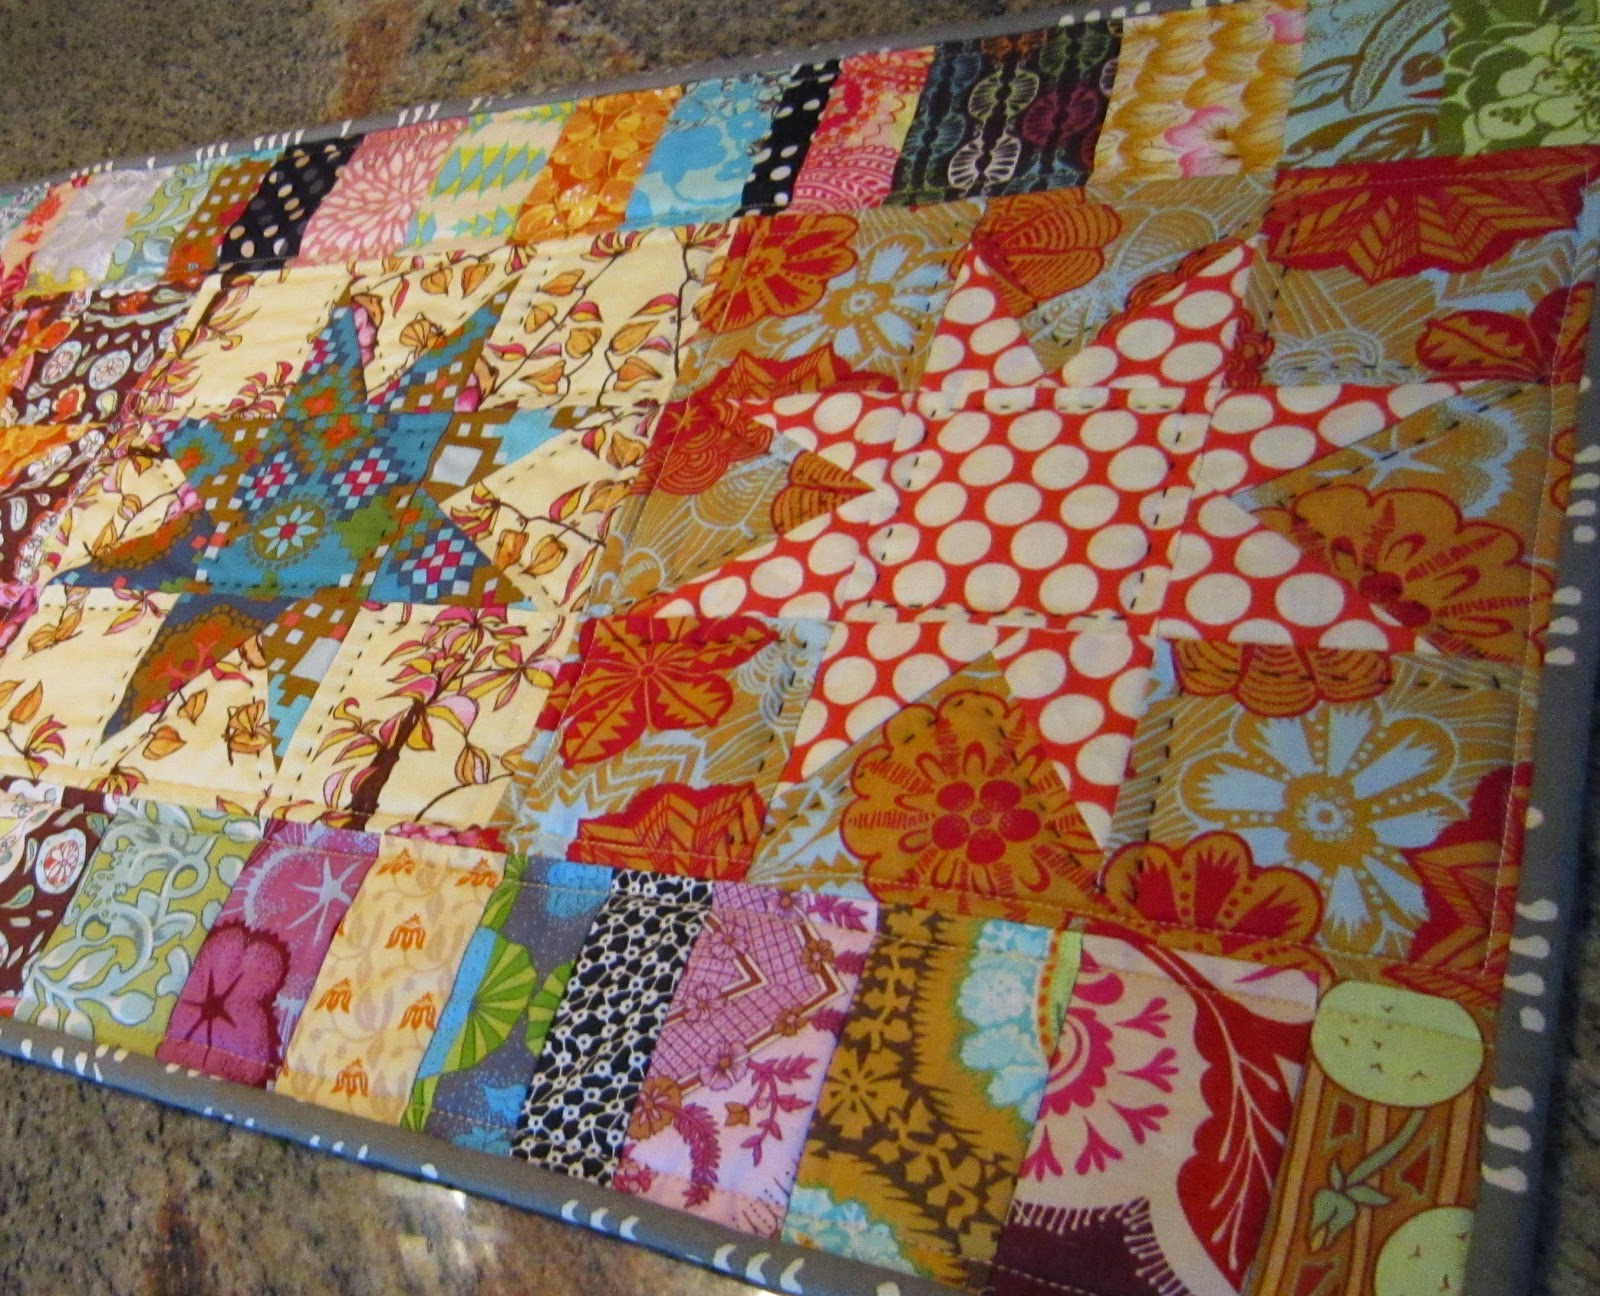
One of the projects I worked on and finished this week was a table runner from the Liberated Star blocks I have been making.  I grabbed 5 blocks, sewed them together and added a piano key type border to each of the long sides. 
 I machine quilted around each block and then big-stitch hand quilted in black cotton around each star and in the center.  I love the colors and motion that all these fabrics create when they come together.
 
A couple of people have asked about these blocks... so here we go - a quick (I hope) tutorial on how they are made.
My blocks are 9" finished.  So to start, I need to cut 8) 3 1/2" squares for my background (the blue fabric pictured here), and 4) 4" squares, cut in half to make 8 triangles (the red print fabric).  I also need  1) 3 1/2" square out of the red fabric for the star center.
Now, here is the fun and liberating part.   Put that triangle at an angle across one of the background fabric squares.  Sew with a 1/4" seam allowance from the edge of the triangle.
Trim away the excess fabric from the corner of the square.  Press the triangle toward the seam allowance.

Add the second triangle on the opposite side of the background square, again using a 1/4" seam allowance.  No matching seams, no right or wrong angle or placement.  Liberating!   I usually string piece these and do the blocks "assembly line style".
Star production line!  It goes really fast.
 

Again, trim and press.
Now I need to trim my blocks down to 3 1/2" square.
With the blocks trimmed, I can now start sewing them into rows with the other 3 1/2" square blocks that I originally cut.
The rows go together easily using a 1/4" seam allowance.  Next, I sew the rows together!
My Liberated Star block is complete!  See how the points of the star vary.
Before I know it, my star block is joined by the other star blocks I was working on!  It's a small constellation! LOL  Can you imagine how fun these would be in pastels or brights for a baby?
You can vary the size - as you can see with the 6" stars I did just for fun!
These were done with 2 1/2" background squares and 3" squares cut diagonally into triangles.
 
They are addictive!!  Right now I am up to 48 blocks!!  I think I need a quilters intervention!
 
Happy Stitching!
 
Deb

Wednesday, August 20, 2014

Design Wall Wednesday

Just a quick update on what is happening on my design wall lately.  I feel like I have really been neglecting my blog lately.
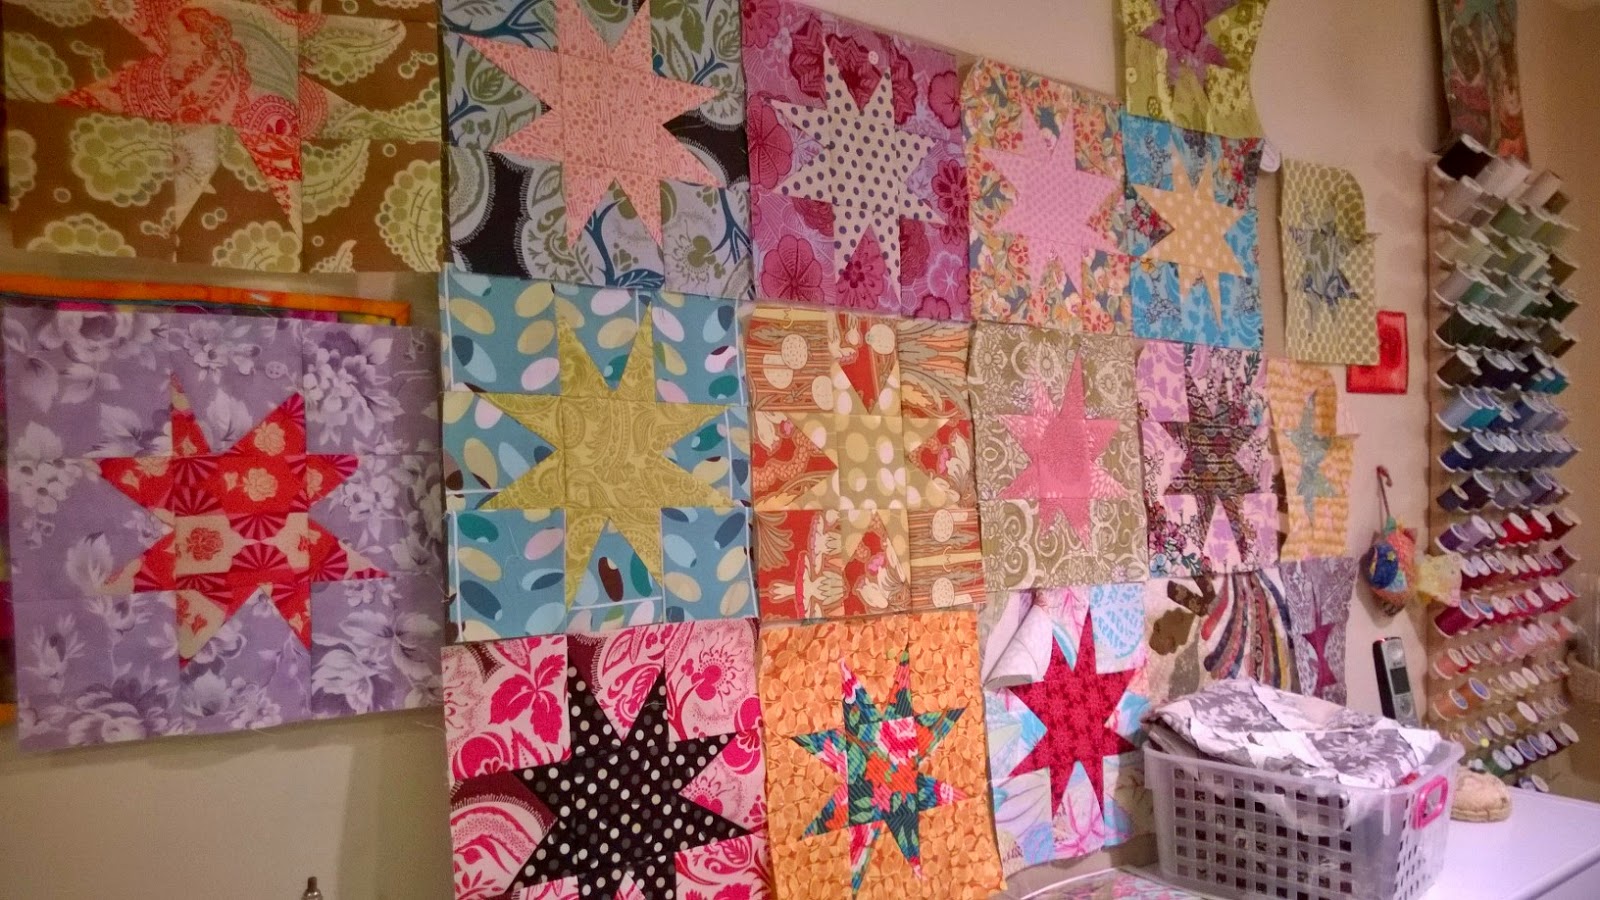
 I have been working on the Liberated Star blocks.  Some new additions to the design wall.  I am not sure when I am going to stop... I just love making these fun and colorful stars.  I currently have about 30 blocks done.  They measure 9 inches finished.
No longer on the design wall, but I did finish the table topper from 4 of these blocks.  I big stitched with black perle cotton around each star and inside the center square. 
Looks great on our coffee table.
And... a table runner for a gal at work who just bought her first house.  Her kitchen cabinets are painted that teal color, the walls are the avocado green and tan.  Nice!
And last, but not least, some funky houses on an antique cutter quilt background,
Tomorrow is our 32nd wedding anniversary.
 
Happy Anniversary, Sweetie!
 
Deb

Thursday, July 24, 2014

Summer Break

I have taken a bit of a break from blogging the last few weeks.  In fact I have been staying off the computer at home (no such luck at work!!) pretty much.  But I wanted to get back into the swing of things and show you one of the projects I have been working on in my 'blog silence'. LOL
So...... what is this you ask?
Here is the start of some liberated star blocks I have been making out of  Anna Maria Horner fabrics.. along with others in my stash.
The liberated star blocks are fun!  They come from Liberated Quiltmaking II by Gwen Marston.  No templates, no matching points - just FUN!
What is really exciting is that with the large funky Horner prints it is hard to tell exactly what the blocks will look like until they are done. In a few cases I realized that there was not enough contrast.... but no worries!  It's all good!!
This is a little table topper I made out of just four of the blocks.  Not sure what I will do with all the others......  but they are addictive!!!  Like chocolates... you never know what you are going to get!
 
 
On a more serious note.  Thoughts and prayers to the people of The Netherlands and their recent loss.  The world mourns with you.
 
Deb
LinkWithin

Related Posts Plugin for WordPress, Blogger...